

Restoring a High-Gloss Finish to Slate Tiled Flooring in Knightwick
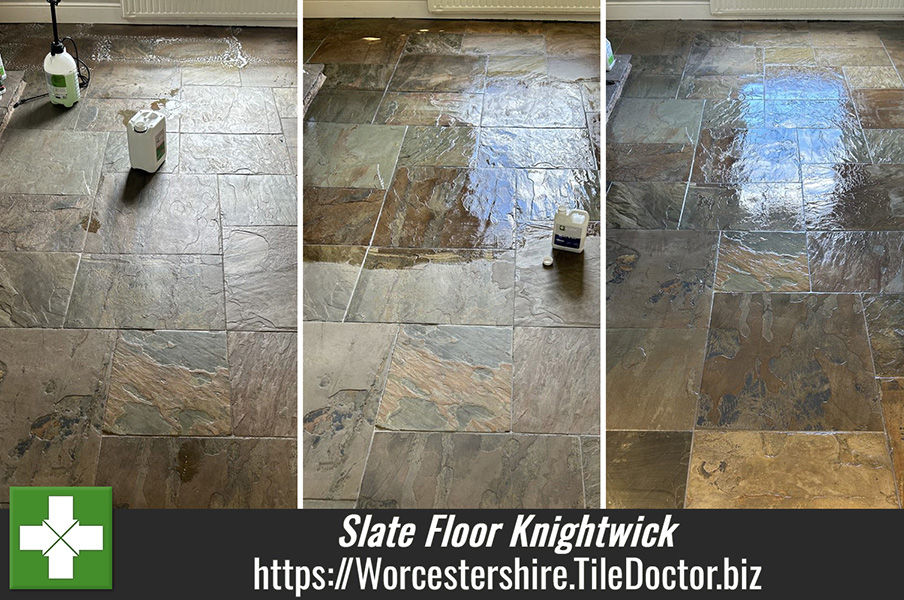
Recently I worked on the renovation of a Slate tiled floor at a property in the small village of Knightwick in the Malvern Hills. The owner had asked me to restore its appearance as it had lost its original charm and now looked flat in appearance.
This is not an unusual issue with natural stone like Slate, basically it needs to be sealed to prevent dirt from becoming embedded in the pores of the stone and grout. Sealers do wear down with use so unless you have been maintaining the sealer dirt will creep into the floor and become increasingly difficult to clean.

After visiting to survey the floor and quote for the renovation which included deep cleaning the Slate and Grout and then protecting it with a fresh sealer. Happy with the renovation plan the quote was accepted and a date agreed to start the work.
Removing Old Sealer and Deep Cleaning Slate Tile and Grout
To deep clean the Slate the floor was sprayed with a strong dilution of Tile Doctor Pro-Clean which was then left to soak into the stone for ten minutes. I used a strong dilution to ensure any remaining sealer would be removed and the dwell time gives the product time to break it down. This was followed up by scrubbing the floor with a rotary machine fitted with a black scrubbing pad. This combination cleans the stone and removes ingrained dirt, grime, and surface contaminants from the slate. The cleaning solution turns into a dark slurry due to the dirt and once done this is thoroughly extracted with a powerful wet vacuum.
The pads can struggle to reach into the recess of the Grout line so the next step is to clean the Grout. I prefer to use Tile Doctor Oxy-Gel for this as being a gel it stays in place along the grout line. After leaving it to soak in for ten minutes it was worked into the grout line by hand using a stiff brush until it was as clean as it could be.
After a final rinse and extraction with the wet vacuum the floor was left to dry out overnight.
Sealing Slate Floor Tiles
I returned the following day to seal the floor, first checking the stone was dry enough to accept a sealer. I use a damp meter to check the moisture levels on various parts of the stone and all the readings were within tolerance. We do not recommend applying a sealer to a damp floor as the results can be patchy.

My client wanted a glossy look to the Stone so for this floor Tile Doctor Seal and Go was chosen. This is a great choice for Slate as it enhances the colour depth and leaves a rich, high-gloss finish.
Once complete the floor was restored to its original deep, vibrant appearance with a uniform gloss finish that highlights the unique character of the Slate. The fresh sealer will also ensure dirt remains on the surface where it can be easily cleaned away for which we recommend using Tile Doctor Neutral Tile Cleaner. It’s important to use a ph. neutral cleaner on a sealed floor as anything stronger will strip the sealer off.

Professional Slate Floor Renovation in Worcestershire
Restoring a High-Gloss Finish to Slate Tiled Flooring in Knightwick Read More »


